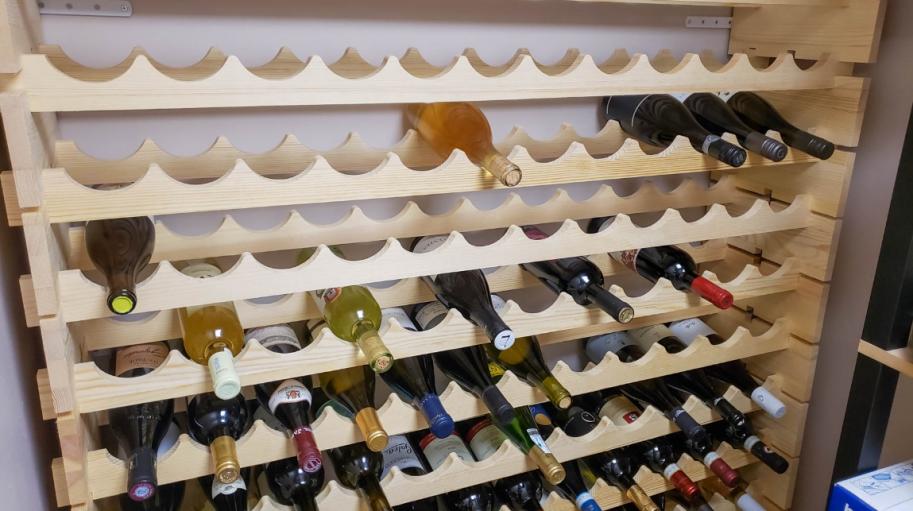
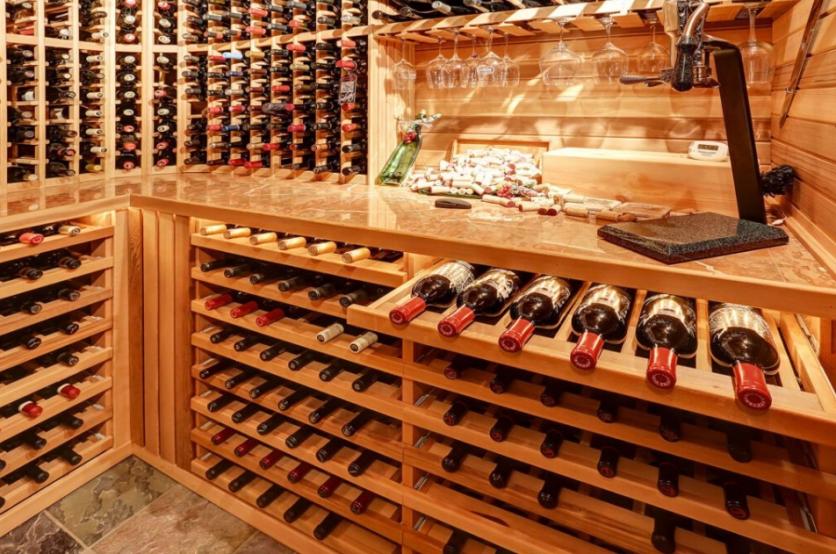
Building a wine cabinet from scratch is a gratifying project that combines creativity, woodworking skills, and a touch of craftsmanship. Whether you're an occasional wine drinker or a serious collector, having a personalized storage space for your wine can enhance your living area and keep your bottles organized. A wine cabinet not only serves a practical purpose but also adds elegance and style to any room. In this guide, you’ll learn how to build a wine cabinet from start to finish, from gathering the right materials and tools to finalizing the finishing touches. By following this guide, you’ll be able to create a beautiful, functional piece of furniture that will elevate your home decor.

What Tools and Materials Do You Need?
Before building your wine cabinet, gather the necessary tools and materials. Essential woodworking tools include a tape measure, a carpenter’s square, a circular or miter saw for precise cuts, a jigsaw for shaping, a drill, bits for making holes, and screwdrivers for assembly. Use wood glue for secure joints, clamps for holding pieces, sandpaper for smooth finishes, and paintbrushes for applying paint or finish. For materials, choose hardwood plywood for the structure and hardwood boards for shelves. You’ll also need screws, nails, wood filler, sanding sealer, paint or wood stain, and a clear varnish or polyurethane for protection. Having all materials ready ensures a smooth workflow and prevents interruptions during the construction process.
How to Design Your Wine Cabinet
Designing your wine cabinet is a critical step that shapes its appearance and functionality. Start by measuring the space where the cabinet will be placed, considering height, width, and depth. Plan how many bottles you want to store and their sizes, including regular bottles, champagne, and magnums. Decide if you want to add features like glass holders or drawers for accessories. Create a sketch showing the number of shelves, wine racks, and compartments you need. Prepare a detailed cut list with dimensions for each piece. This well-organized plan ensures precise cuts, easy assembly, and a finished cabinet that perfectly fits your space and meets your storage needs.
Step-by-Step Guide to Building Your Wine Cabinet
Step 1: Preparing the Wood
The first step in building your wine cabinet is selecting high-quality hardwood plywood and boards. Ensure the wood is free of warps, knots, and imperfections, as these can impact the final look and strength of your cabinet. Use a circular saw to cut the plywood sheets to the desired dimensions for the base, sides, back, and top panels. Precision is key, so measure twice to avoid any errors in your cuts. Lay out the cut pieces on a flat surface to ensure that everything fits together before you begin assembling the cabinet. Proper preparation will make the assembly process smoother and help you achieve a polished, professional result
Step 2: Cutting and Shaping the Pieces
Now that you have the basic pieces cut, it’s time to cut and shape the hardwood boards for shelves, racks, and any decorative features you want to include. Using a miter saw, make accurate cuts for the edges of each piece, ensuring they are the correct length and angle. For intricate shapes and curves, you can use a jigsaw to cut more detailed designs. After cutting, use sandpaper to smooth out rough edges and corners, eliminating any splinters or jagged surfaces. Sanding is an important part of the process that gives the wood a smooth, refined look, ensuring that the final product is both visually appealing and safe to handle.
Step 3: Assembling the Frame
Assembling the frame is the next critical step in building your wine cabinet. Start by attaching the sides, base, and top panels together using wood glue and screws. Apply a generous amount of glue along the edges to ensure a strong bond between the pieces, and then secure them with screws. Clamps will come in handy here to hold the pieces in place while the glue dries, ensuring everything stays aligned. As you assemble the frame, use a carpenter’s square to check for squareness, ensuring that all the corners form right angles. This step is crucial to ensuring that the final frame is structurally sound and that the cabinet will stand firm when completed.
Step 4: Building the Shelves and Racks
Once the frame is assembled, it’s time to install the shelves and wine racks according to your design. Start by marking the positions where each shelf will be placed, ensuring that they are level and evenly spaced. Pre-drill holes to avoid splitting the wood and then attach each shelf using wood glue and screws. Take care to ensure that the shelves are level and aligned with each other as you install them. When building the wine racks, ensure they are designed to securely hold the wine bottles without any risk of them rolling or falling over. These features are critical to both the functionality and aesthetics of your wine cabinet.
Step 5: Sanding and Smoothing the Surfaces
Once your wine cabinet is assembled, it's time to sand the entire piece to achieve a smooth, polished finish. Start with medium-grit sandpaper to remove any rough spots or uneven surfaces, and then progress to finer grits for a smoother texture. Pay extra attention to corners, joints, and edges where imperfections can be more noticeable. Sanding is a crucial part of the process, as it helps eliminate splinters and ensures the surface is even. This step is essential for achieving a professional-grade finish and will make the staining or painting process more effective. After sanding, wipe down the cabinet to remove any dust before applying the finishing touches.
Step 6: Adding Decorative Elements and Trims
To enhance the overall design of your wine cabinet, consider adding decorative trims around the edges or along the corners. These trims can be made from hardwood or other materials, and they serve both an aesthetic and functional purpose. They can conceal any exposed plywood edges and add a refined, finished look to the cabinet. Use wood glue and finishing nails to attach the trims securely. Depending on your design, you can also add other decorative elements, such as carved details or handles for drawers. These small touches will make your cabinet stand out as a beautiful, custom-made piece that adds character to your space.

Finishing Touches and Maintenance Tips
Once the construction is complete, apply a sanding sealer to protect the wood and prepare the surface for finishing. Choose a wood stain that matches your decor and apply it evenly with a brush or cloth, ensuring a consistent color throughout the cabinet. Allow the stain to dry before applying a clear varnish or polyurethane coat to protect the wood and give it a durable, glossy finish. For maintenance, regularly clean the cabinet with a soft cloth to remove dust and prevent the wood from becoming dull. Every few years, reapply a protective finish to maintain the cabinet’s beauty and ensure that it continues to stand the test of time.
Conclusion
Building a wine cabinet from scratch is an enjoyable and rewarding project that allows you to customize your storage solution while adding a touch of elegance to your home. By following this guide and taking your time with each step, you’ll end up with a beautiful, functional piece of furniture that can store your wine collection in style. Whether you want a simple, functional design or a more elaborate, decorative piece, this guide helps you bring your vision to life. With the right tools, materials, and patience, you’ll learn how to build a wine cabinet that will enhance your living space for years to come. Cheers to your new creation!
FAQ
Can I build a wine cabinet without advanced woodworking skills?
Yes, this guide is designed for beginners. As long as you follow each step carefully and use the recommended tools, you can successfully build your own wine cabinet.
What is the best wood to use for a wine cabinet?
Hardwoods like oak, maple, or cherry are ideal due to their durability and attractive grain patterns. These woods also provide the stability needed for a robust wine cabinet.
How do I ensure the durability of my wine cabinet?
Using high-quality materials and proper construction techniques ensures long-term durability. Regular maintenance, such as dusting and reapplying protective finishes, will keep your cabinet in excellent condition for years.
