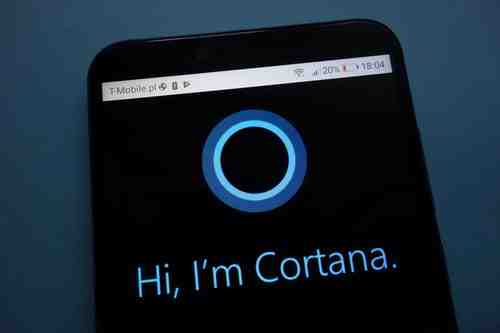
This tutorial explains how to enable and configure Cortana, your personal assistant on Windows 10.
What is Cortana?
Cortana is a personal assistant that made its first appearance on Windows Phone 8. It has been integrated to Windows 10 (replacing Bing Search) and will soon be made available for the Xbox One console and Android devices (app).
Cortana's natural language user interface allows users to ask their questions using a natural language. You can, for example ask Cortana for weather information, the latest scores of your favorite sports teams, traffic info... and it will fetch the information online (Bing SmartSearch).
Cortana also allows you to interact with your device using voice commands, set reminders, send emails and much more.
Enabling Cortana on Windows 10
Enabling Cortana on Windows 10 is easy and straight forward:
Click in the Search field displayed next to the Start menu and then on the Cortana button (circular icon):
Read the privacy statement and then click on I Agree. Enter a name or nickname and then click on Next:
That's it; Cortana is now available on your PC.
Getting Started with Cortana
Once you have enabled Cortana, new options will be available in the Search field:
Click on the Microphone icon to ask your question:
Click on the circular icon to open Cortana. Cortana use contextual cards to deliver information about your favorite topics. You will find all the recent updates and your current appointments listed in the Home menu:
The Notebook menu is where you can customize Cortana's settings and information cards:
The Reminders menu is of course where you can create and manage your appointments:
Click on the + button to create a new reminder and then fill in the Remember to, People, Place and Time fields with the appropriate information:
You now have all the basics covered and are ready to use Cortana.
Photo: 123rom
